There is something just magical about snow: The kids get so excited to see those tiny flakes falling outside the window! Waking up in the morning and seeing crisp, white, fluffy snow as far as the eye can see is a truly wonderful sight.
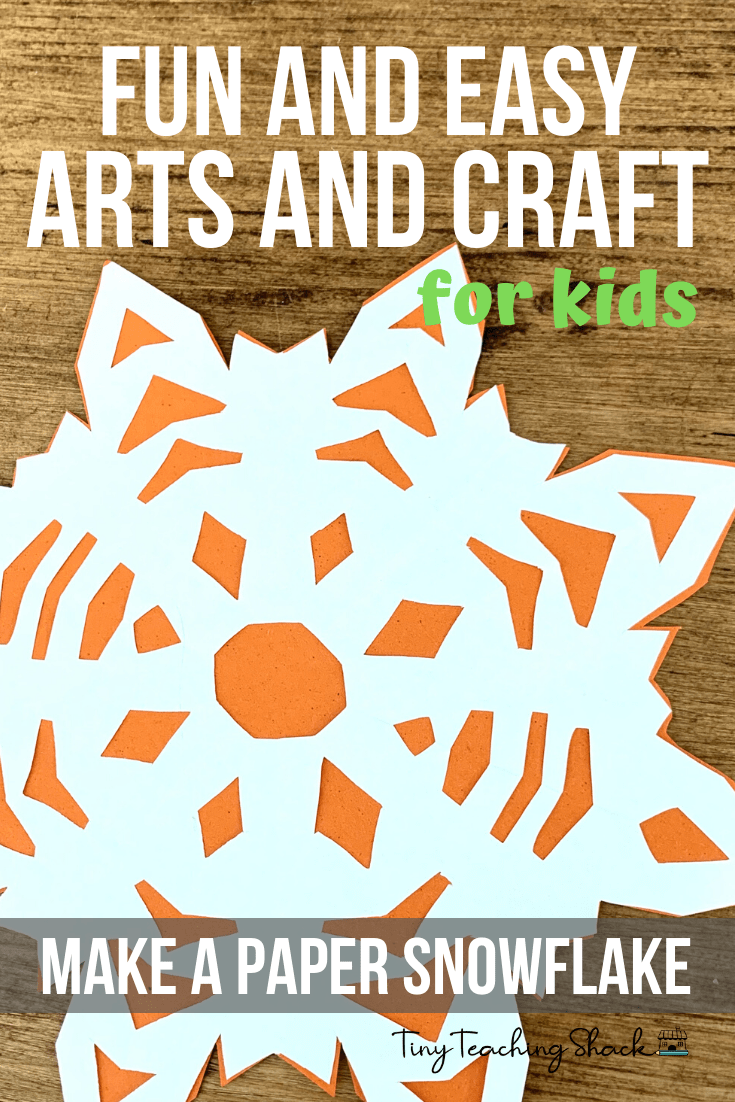
Nice as it is to see it outside, it’s awfully messy when it gets trudged in on the bottom of little ones’ shoes… so I’ve got a super simple and super fun way to bring some of that beauty inside: Easy Paper Snowflakes!
In just a few simple steps, you too will be able to decorate your classroom with dozens of unique and beautiful snowflakes, with none of that cold, wet mush in sight 🙂
Materials
origami paper or A4 sized paper
colored construction paper
scissors
glue
How-to Video
Directions
Start with a square piece of paper. If you don’t have a square piece, you can easily make one from a rectangular piece of paper by folding one corner down to one side and trimming off the excess.
Now you have a square folded in half- a triangle.
Fold in half again.
You can mark the corner to show the center of the snowflake. This will make it easier for you to know where to fold and cut.
Fold in half again.
Unfold, and you will see the line in the middle.
Fold the right side so that the edge meets the line in the middle.
Fold the left side all the way just like the picture on the left
Cut the top off.
This is what it will look like.
You can draw lines to show where to cut. You can try funky lines or keep it simple like the picture on the left.
This is what it will look like.
Get creative and cut the sides of the triangle. The more you cut out, the more intricate your design will be.
You can cut the tip (where you marked earlier) to have a hole in the middle of your snowflake.
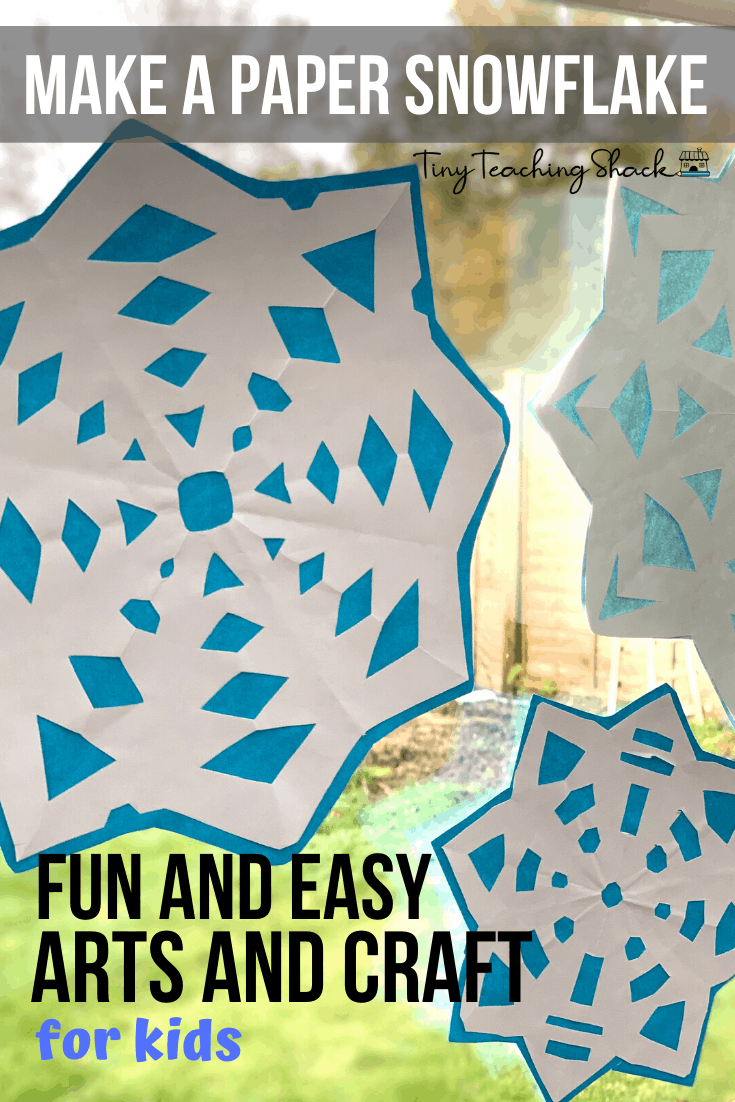
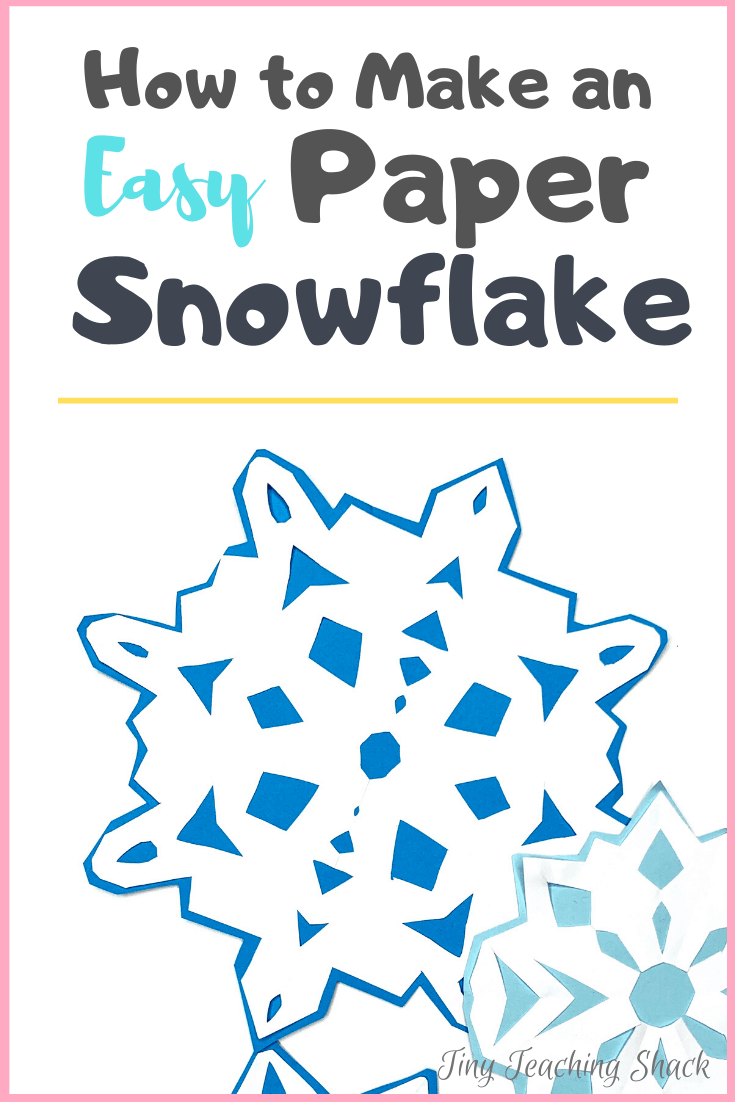
unfold to reveal your beautiful snowflake!
You can glue it onto a colored piece of paper and cut along the edges to make it pop!
Bright Ideas
Use double sided tape and decorate your window with snowflakes.
Use left-over paper to create smaller snowflakes to go with larger snowflakes. The difference in sizes will make the overall decoration more interesting.
Use the smaller snowflakes as tree ornaments.
Hang them from a ceiling with clear thread to make it look like it is snowing.
Share your moments!
If you’ve tried making this craft, please share it with us! We would love to see what you and/or your kids have made!
")


")